VPN: A Guide
Whether you’re completely new to VPN or an expert, we think you should take a read of our guide to learn more…
With the recent developments of COVID-19 (Coronavirus), we took the government-advised decision to work from home. We ensured the transition as smooth as possible so that business remained, as usual. Although, a pitfall we came across, with our current setup for remote working was around accessing IP restricted services such as SSH or FTPS servers. This is where deploying a VPN server with a static IP helped, as it allowed us to normalise everyone’s unique IPs into a single, static one.
What is VPN?
VPN stands for Virtual Private network. A Virtual Private Network offers an extended degree of protection whilst browsing the web. VPN creates a secure connection across public networks (such as wi-fi on public transport, hotels and cafes), in addition to home networks (the one provided by your internet service). VPNs protect your online activity by routing traffic through servers and through encryption of data.
How do VPNs work?
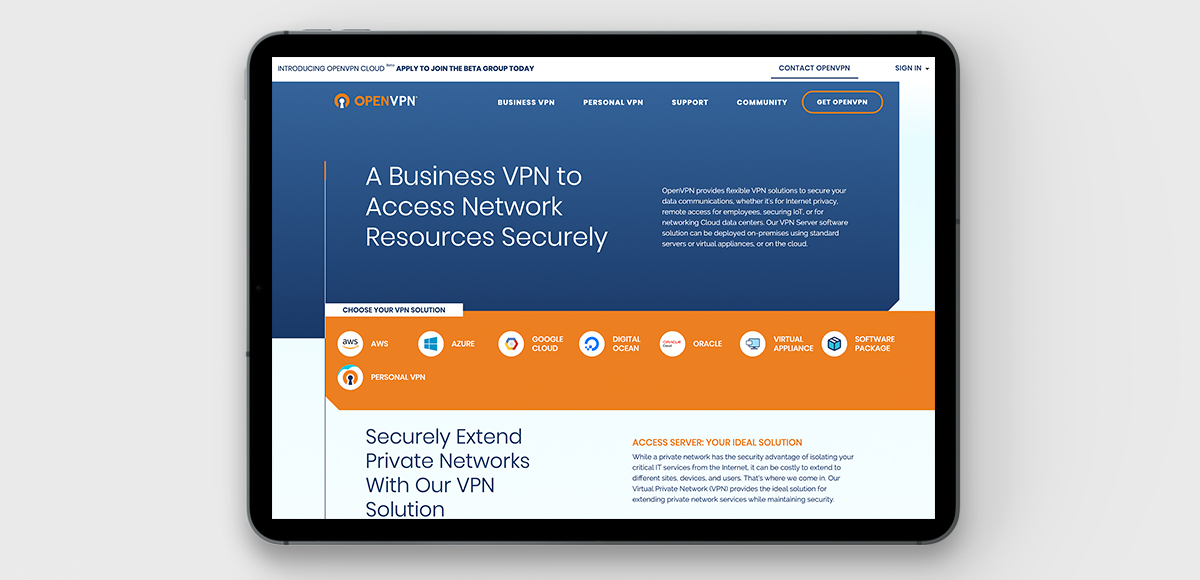
For this to work, we begin with the VPN client – the interface where you manage your VPN connections. At Big Eye Deers we used OpenVPN . Once launching this, you have the ability to select a server in the desired location which will be in charge of rerouting and encrypting your web traffic.
Usually, the details of your traffic would be visible to your ISP (Internet Service Provider). However, upon launch of your VPN, the ISP will see that a connection with a VPN has been established, any additional information cannot be accessed. Your data is routed through the VPN before arriving at its destination.
You also obtain a different IP address from your real one, so your online identity is protected at all times. Your chosen destination doesn’t know that your traffic is coming from your real location, because it’s actually sent from the VPN server.
Take a look at our experience with using OpenVPN and how it’s helped us in recent times.
We chose to deploy an OpenVPN CE instance due to its support for split tunnelling. This allowed us to route traffic to our servers through the VPN, reducing server load on the VPN, in addition to not interfering with traffic to other sites such as banks / social media etc. Here’s how we did it:
Deploying the Server:
We decided to opt for cloud-based VPS hosting due to the ability to scale to support more or fewer users if the needs arise. In this guide we are going to be deploying on the following setup, you can get a similar setup with Digital Ocean.
- Operating System: Ubuntu 18.04
- CPU: 1vcpu
- RAM: 2GB
- OpenVPN CE: 2.4.4
Installing OpenVPN CE:
We used the management script by Nyr (available at Github). We downloaded the management script into the home directory and executed it via: $ wget https://git.io/vpn -O ~/openvpn-manage.sh && bash ~/openvpn-manage.sh
Here is where online instructions appear; we used the following settings:
- UDP
- 1735
- 1
- Client
- Enter
It was time to update our firewalls accordingly. In our case, we wanted to allow UDP connections from 1735. Which we could do with the following commands:
- sudo ufw enable
- sudo ufw allow 1735
- sudo ufw reload
Tweaking Server Config:
The default server config already worked well for what was required, so all we simply needed to do was enable 2 step login by adding a username/password to the login flow.
Enabling 2 Step Login:
Firstly, we needed to find the PAM Authentication plugin. We did this by running the following command:
- $ find / -name openvpn-plugin-auth-pam.so /usr/lib/x86_64-linux-gnu/openvpn/plugins/openvpn-plugin-auth-pam.so
Once discovered, we added this as the login plugin within the server config:
- $ echo “plugin /usr/lib/x86_64-linux-gnu/openvpn/plugins/openvpn-plugin-auth-pam.so login” >> /etc/openvpn/server/server.con
We then restarted the service:
- $ systemctl restart openvpn-server@server.service
Following on from this, we needed to add the auth-user-pass directive to the clients’ profiles to trigger the username/password dialogues. We added it to the new client template with:
- $ echo “auth-user-pass” >> /etc/openvpn/server/client-common.txt.
(for existing profiles you can edit in a text editor and add the directive manually).
We created a filesystem user for each client we wanted to log in. To do this, we ran the following commands for each client we created changing client for the name of the new client:
- $ useradd -Mr -s /usr/sbin/nologin Client
- $ passwd Client
Split Tunneling:
We set up split tunnelling to ensure we were not pushing all traffic through the VPN. The benefits of setting up split-tunnelling to this are lowering resource usage.
We enabled split tunneling by disabling the redirect-gateway in the server config:
- $ sed -e ‘/redirect-gateway/ s/^#*/#/’ -i /etc/openvpn/server/server.conf
For each IP we wanted to route through the VPN, we ran the following command, replacing x.x.x.x with the server IP:
- $ echo ‘push “route x.x.x.x 255.255.255.255 vpn_gateway”’ >> /etc/openvpn/server/server.conf
Then to apply these changes to the client, we just needed to restart the OpenVPN server
- $ systemctl restart openvpn-server@server.service
Looking for help with your current site? Please, get in touch. We’d be more than happy to help!
Magento
eCommerce
Magento is the leading solution for eCommerce, and we’re specialists. Magento is easy-to-use, completely customisable and endlessly scalable.

Bespoke
Builds
We offer custom web development services for any requirement. Manufacturing from scratch, we deliver a project entirely tailored to your needs.

Working with brands nationally from our offices in Cardiff and Exeter, our tenacious team of designers and developers deliver sophisticated results every time.


